使用Arch Linux在Docker中编译内核
本文简单记录一下使用Arch Linux在Docker中编译内核的粗略过程和一些注意事项。
Docker的容器和image的准备
Docker hub里面提供Arch Linux的image,很方便使用。虽然Docker不使用image里面的kernel,但是我们可以使用docker container来build kernel,是没有问题的。
这个是archlinux的image:
https://hub.docker.com/r/base/archlinux/
我们使用docker给pull下来,然后启动登录:
$ docker images | grep arch
base/archlinux                  latest              049577fd9308        37 hours ago        460MB
然后我们为这个image创建一个容器:
$ docker create -t base/archlinux
e5b308788eb6e575b7929699c93140cba9e8d9d8567fd1acbb36dde3949744c6
然后启动容器:
$ docker start -a -i e5b308788eb6e575b7929699c93140cba9e8d9d8567fd1acbb36dde3949744c6
[root@e5b308788eb6 /]#
这样,我们就登录进了这个Arch Linux的容器。
Docker的基本使用不是本文的重点,就不再做过多介绍,接下来讲kernel的build过程。
编译内核的准备工作
首先,编译内核不可以使用root账号,需要建立一个独立的用户账号进行编译。命令如下:
$ useradd -m foo
这样,我们就有了用户和用户目录:
$ ls -ld /home/foo
drwx------ 2 foo foo 4096 Jun  7 03:03 /home/foo
我自己的账号用户名是weli:
$ ls -d /home/weli
/home/weli
做Arch Linux的编译,最好是按照它提供的文档来做:
https://wiki.archlinux.org/index.php/Kernels/Arch_Build_System
在这篇文档里面,介绍了需要安装的一些编译kernel所必须的包。安装这些包的命令如下:
$ pacman -S base-devel
然后还要安装asp这个包:
$ pacman -S asp
安装好以后,照着上面wiki给出的文档,使用asp命令把kernel的源代码下载好:
[weli@67065c9d04ae build]$ pwd
/home/weli/build
[weli@67065c9d04ae build]$ ls
linux
[weli@67065c9d04ae build]$ ls linux/
repos  trunk
关于pacman的使用,看这篇文档:
https://wiki.archlinux.org/index.php/pacman
以上是准备工作的注意事项。
Kernel的build过程
接下来讲讲Kernel的build过程。注意Arch提供好几个版本的kernel,其中有trunk,还有repos里面的几个:
[weli@67065c9d04ae build]$ ls linux/repos/
core-i686  core-x86_64	staging-x86_64	testing-x86_64
一般情况下,trunk的编译都会有问题,不要使用。然后staging和testing也都不稳定,最好是使用core。
下面是core-x86_64里面的内容:
[weli@67065c9d04ae core-x86_64]$ ls
0001-add-sysctl-to-disallow-unprivileged-CLONE_NEWUSER-by.patch  PKGBUILD	      linux.preset
0002-ACPI-watchdog-Prefer-iTCO_wdt-on-Lenovo-Z50-70.patch	 config		      patch-4.16.13.sign
0003-Revert-drm-i915-edp-Allow-alternate-fixed-mode-for-e.patch  linux-4.16.tar.sign  patch-4.16.13.xz
60-linux.hook							 linux-4.16.tar.xz    pkg
90-linux.hook							 linux.install
[weli@67065c9d04ae core-x86_64]$ pwd
/home/weli/build/linux/repos/core-x86_64
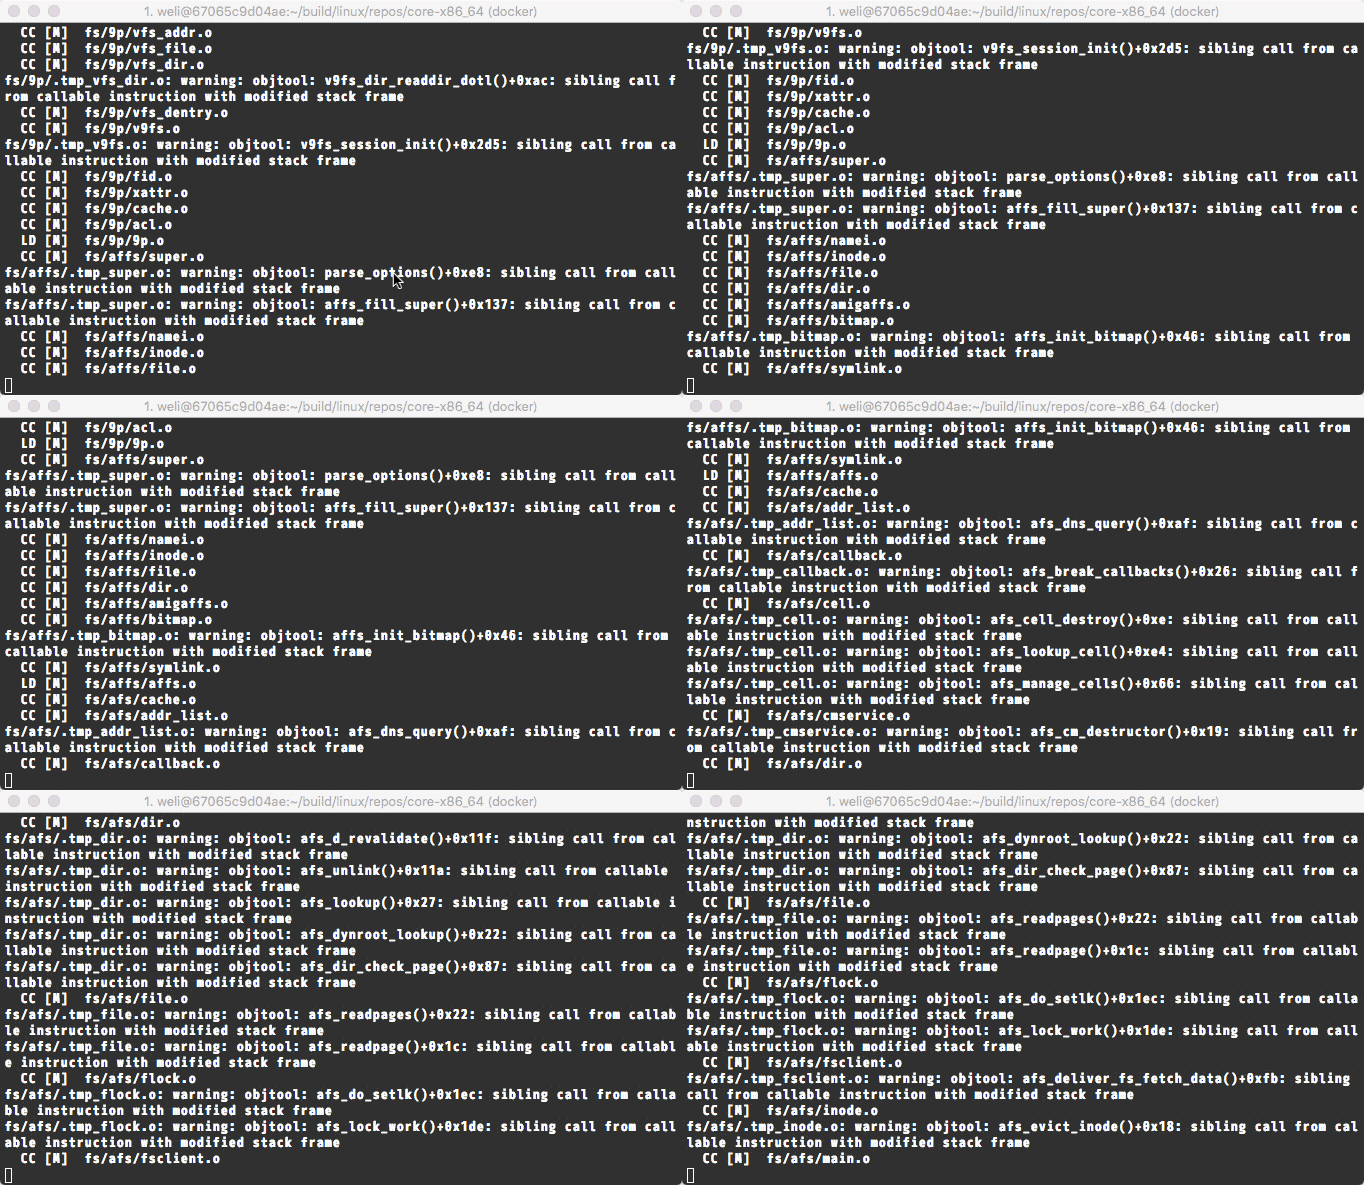
在这个目录下执行makepkg --skippgpcheck,就可以开始内核的编译过程了。编译需要很长时间,在比较高的配置上也要几个小时,所以最好放在那里让机器去编译:

此外要注意的是,每次编译后,会有一个src目录:
[weli@67065c9d04ae core-x86_64]$ ls
0001-add-sysctl-to-disallow-unprivileged-CLONE_NEWUSER-by.patch
0002-ACPI-watchdog-Prefer-iTCO_wdt-on-Lenovo-Z50-70.patch
0003-Revert-drm-i915-edp-Allow-alternate-fixed-mode-for-e.patch
60-linux.hook
90-linux.hook
PKGBUILD
config
linux-4.16.tar.sign
linux-4.16.tar.xz
linux.install
linux.preset
patch-4.16.13.sign
patch-4.16.13.xz
pkg
src
注意src目录是生成的,打过patch的代码目录,每次重新编译,要删掉这个目录:
$ pwd
/home/weli/build/linux/repos/core-x86_64
$ rm -rf src
以上就是最基础的编译过程。
- 上一篇 撰写一个HTTPD Module
- 下一篇 在树莓派上编译Linux内核