Spark的JDBC Datasource
本文通过PostgreSQL数据库作为demo,介绍Spark连接数据库的方法。
$ psql
psql (9.6.2)
Type "help" for help.

weli=# \c astro
You are now connected to database "astro" as user "weli".
astro=# \dt
       List of relations
 Schema | Name  | Type  | Owner
--------+-------+-------+-------
 public | items | table | weli
(1 row)

astro=# \d+ items
                                                         Table "public.items"
  Column   |            Type             |                     Modifiers                      | Storage  | Stats target | Description
-----------+-----------------------------+----------------------------------------------------+----------+--------------+-------------
 id        | integer                     | not null default nextval('items_id_seq'::regclass) | plain    |              |
 timestamp | timestamp without time zone | not null default now()                             | plain    |              |
 info      | json                        | not null                                           | extended |              |
Indexes:
    "items_pkey" PRIMARY KEY, btree (id)

astro=#
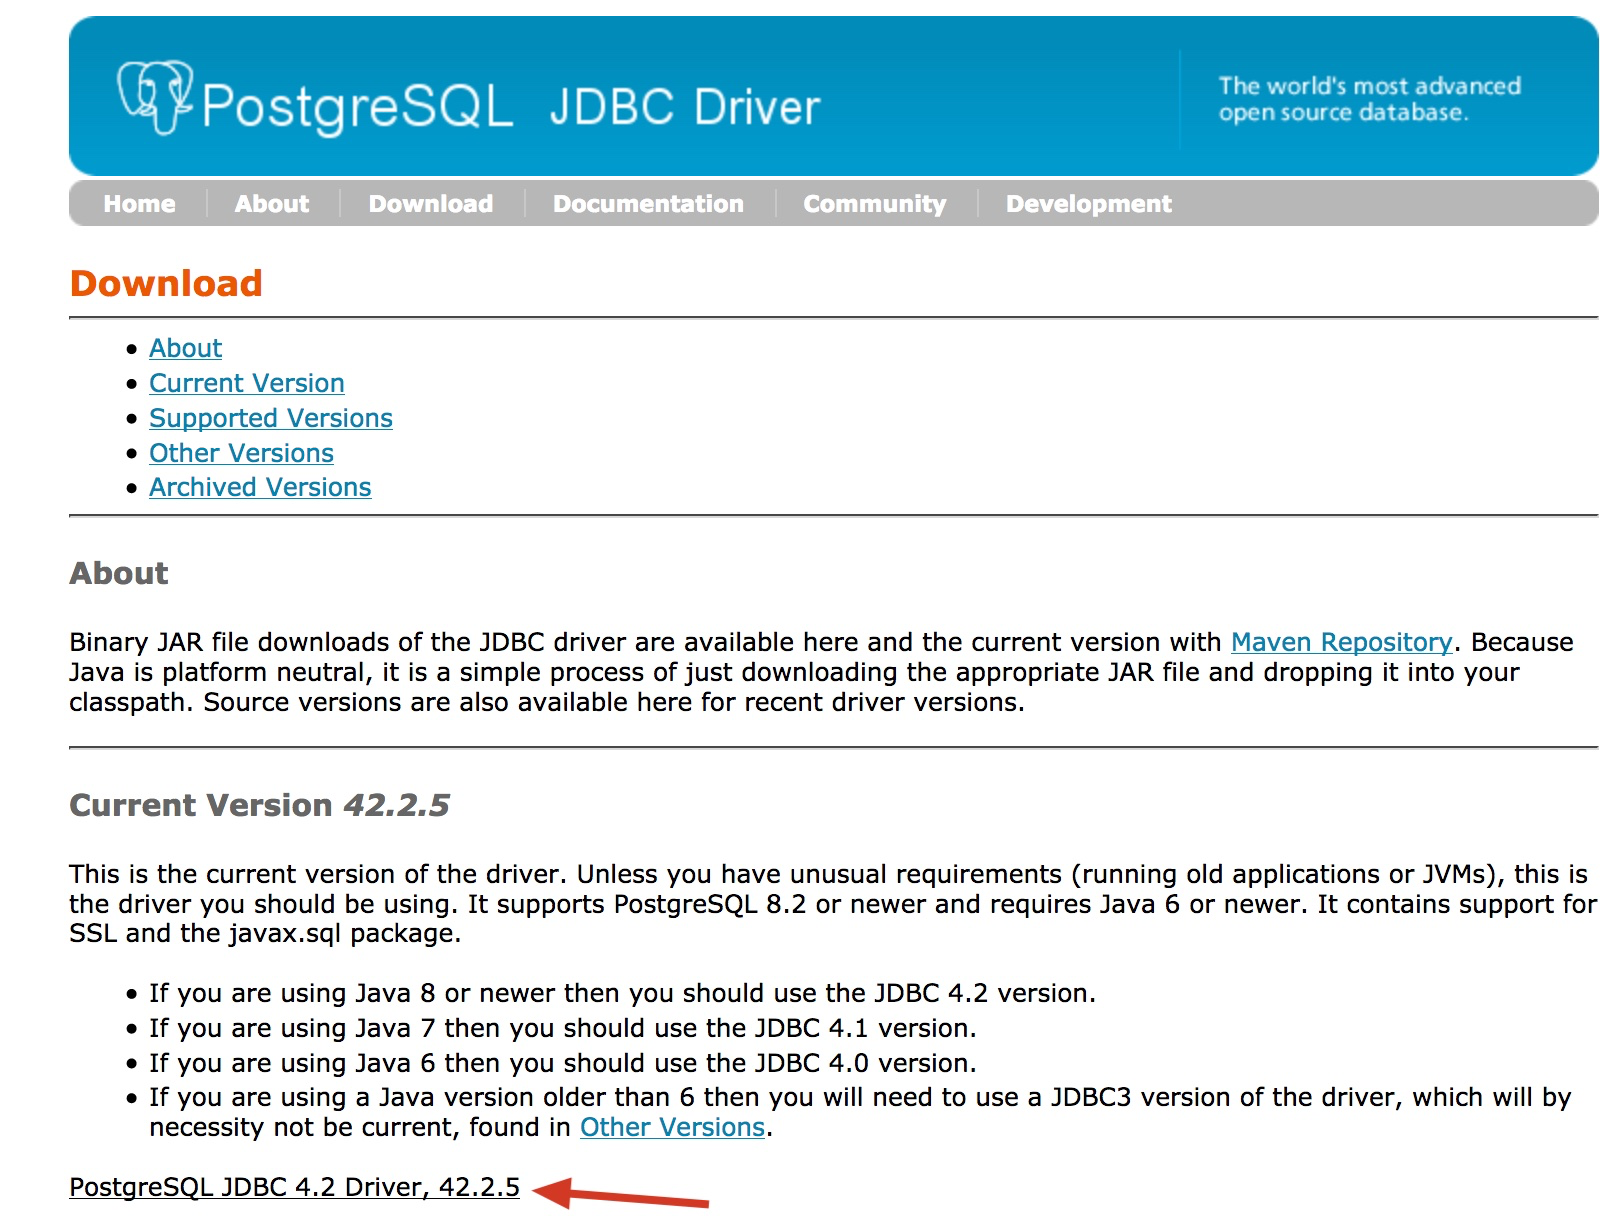
我们要使用Spark连接这个数据库,需要下载PostgreSQL的JDBC Driver,下载地址如下:
从下载页面下载最新的jar包:
从上面的页面得到下载地址后,也可以使用wget命令下载:
$ wget https://jdbc.postgresql.org/download/postgresql-42.2.5.jar
--2018-09-19 11:09:33--  https://jdbc.postgresql.org/download/postgresql-42.2.5.jar
Resolving jdbc.postgresql.org... 174.143.35.228
Connecting to jdbc.postgresql.org|174.143.35.228|:443... connected.
HTTP request sent, awaiting response... 200 OK
Length: 825943 (807K) [application/java-archive]
Saving to: 'postgresql-42.2.5.jar'

postgresql-42.2 100%[======>] 806.58K   356KB/s    in 2.3s

2018-09-19 11:09:36 (356 KB/s) - 'postgresql-42.2.5.jar' saved [825943/825943]
把jar放在合适的位置(比如我放在/usr/local/lib/),在启动spark的时候,就可以引用这个driver了。下面是具体启动命令和参数:
$ spark-shell --driver-class-path postgresql-42.2.5.jar --jars /usr/local/lib/postgresql-42.2.5.jar
上面的command启动了scala的终端。以下是终端的执行和启动过程:
$ spark-shell --driver-class-path postgresql-42.2.5.jar --jars /usr/local/lib/postgresql-42.2.5.jar
2018-09-14 18:43:25 WARN  NativeCodeLoader:62 - Unable to load native-hadoop library for your platform... using builtin-java classes where applicable
Setting default log level to "WARN".
To adjust logging level use sc.setLogLevel(newLevel). For SparkR, use setLogLevel(newLevel).
Spark context Web UI available at http://ovpn-12-24.pek2.redhat.com:4040
Spark context available as 'sc' (master = local[*], app id = local-1536921809645).
Spark session available as 'spark'.
Welcome to
      ____              __
     / __/__  ___ _____/ /__
    _\ \/ _ \/ _ `/ __/  '_/
   /___/ .__/\_,_/_/ /_/\_\   version 2.3.0
      /_/

Using Scala version 2.11.8 (Java HotSpot(TM) 64-Bit Server VM, Java 1.8.0_151)
Type in expressions to have them evaluated.
Type :help for more information.

scala>
接下来就可以跟数据库交互,首先是使用jdbc driver连接至数据库:
scala> var url = "jdbc:postgresql://localhost:5432/astro?user=weli"
url: String = jdbc:postgresql://localhost:5432/astro?user=weli

scala> val driver = "org.postgresql.Driver"
driver: String = org.postgresql.Driver
然后我们就可以把数据库表读取成DataFrame:
scala> val dbDataFrame = spark.read.format("jdbc").option("url", url).option("dbname", "astro").option("dbtable", "items").option("driver",  driver).load()
dbDataFrame: org.apache.spark.sql.DataFrame = [id: int, timestamp: timestamp ... 1 more field]

scala>
scala> dbDataFrame.select("info").count()
res4: Long = 30
接下来就可以通过DataFrame接口来读取数据库表的具体内容:
scala> val jsons = dbDataFrame.select("info").take(30)
jsons: Array[org.apache.spark.sql.Row] = Array([{"distinct_id":"SDK为每个用户生成的唯一ID","info":{"token":"当前产品的token","timestamp":"事件发生的时间戳","type":"track","event":"PageView","fields":{"$lib":"javascript","$lib_version":"0.0.1","$screen_width":375,"$screen_height":667,"$os":"MacOSX10.1","$ip":true}}}], [{"event":"$web_event","properties":{"$os":"Mac OS X","$browser":"Safari","$current_url":"http://astro.hianalyst.com/","$browser_version":11.1,"$screen_height":1050,"$screen_width":1680,"$lib":"web","$lib_version":"0.0.1","distinct_id":"165cde64d485e-03a10a70743ec88-49183707-1aeaa0-165cde64d49b48","$initial_referrer":"$direct","$initial_referring_domain":"$direct","$title":"Astrology","$event_type":"pageview","$ce_version":1,"$host":"astro.hianalyst.com","$pathname":"/"},"distinct_id":"165cde64d4...
后续就可以对数据内容进行具体的处理了。
上面是Scala终端的一个交互过程,等后续文章里拔python的交互过程整理出来。
- 上一篇 Java里的非阻塞算法
- 下一篇 学习编译原理的脉络