从conda转向pyenv(二)
这个系列三篇文章的内容:
- pyenv的基本安装和使用
- pyenv跟virtualenv的整合
- pyenv跟pycharm的整合使用方法
这一篇讲pyenv和virtualenv的联合使用。
为了使用virtualenv,需要安装pyenv-virtualenv:
$ brew install pyenv-virtualenv
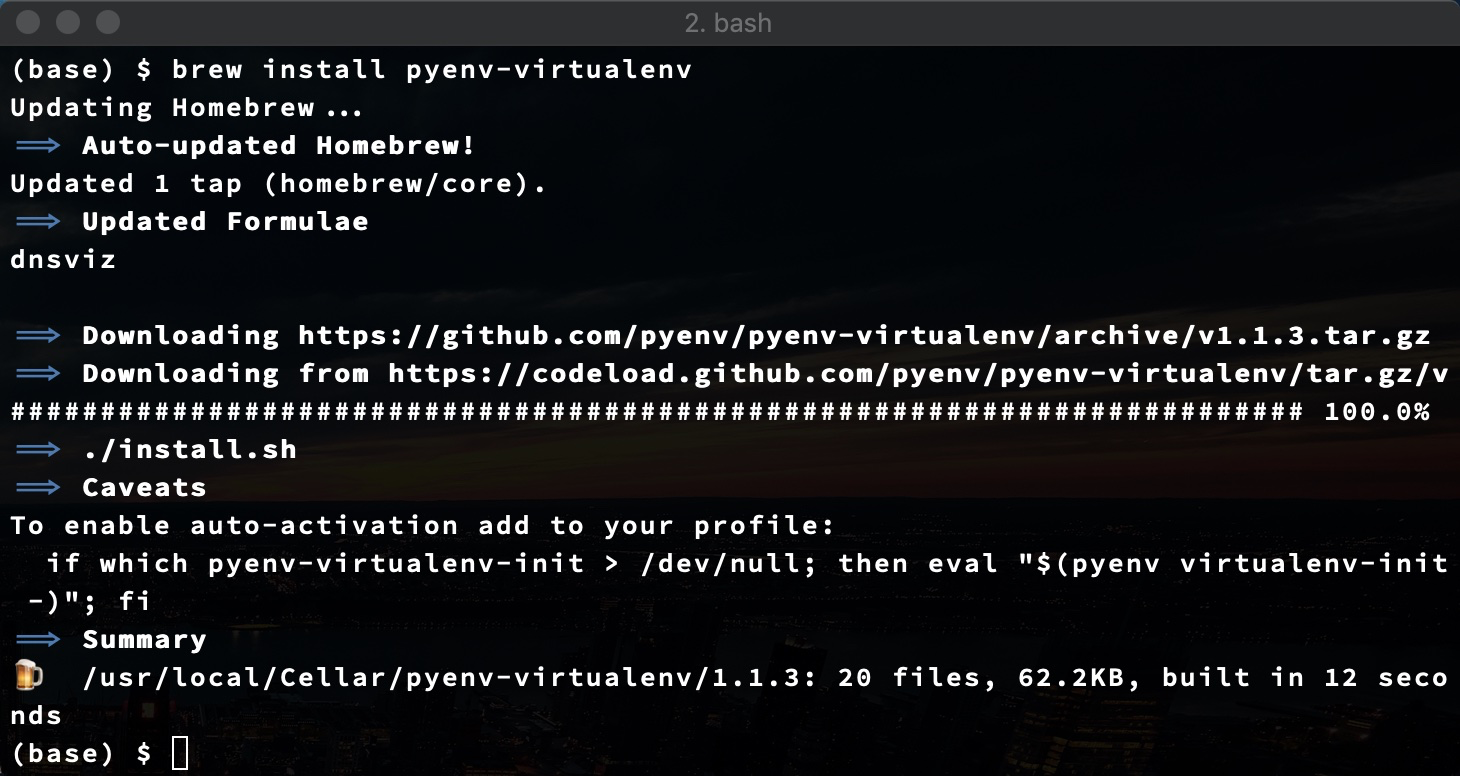
安装完成后,重新加载.bash_profile,让pyenv-virtualenv开始生效:
$ . ~/.bash_profile
接下来就可以创建虚拟环境了,比如创建一个jupyter-notebook的python3.x的环境:
$ pyenv virtualenv 3.7.2 jupyter3
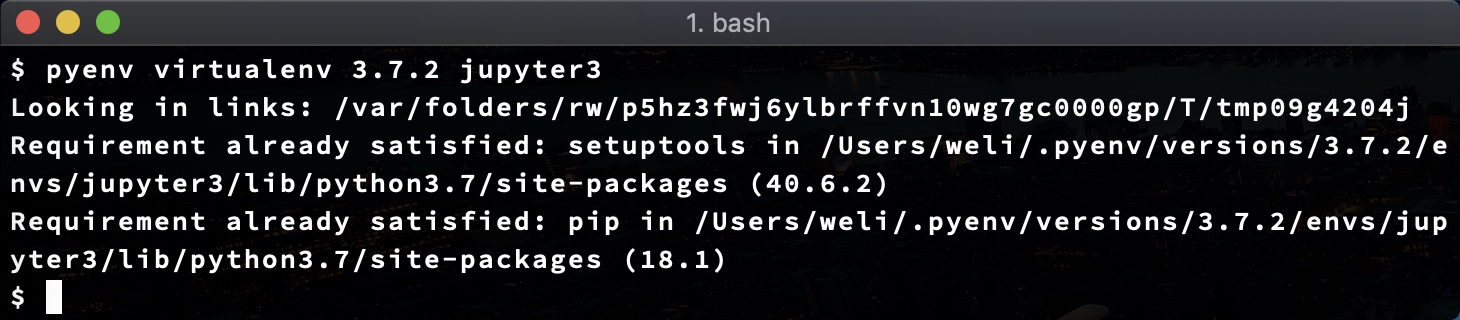
可以看到上面的命令创建了一个虚拟环境,位于:
/Users/weli/.pyenv/versions/3.7.2/envs/jupter3/lib/python3.7/site-packages
创建了jupyter3这个virtual环境以后,就可以激活使用这个环境:
$ pyenv activate jupyter3

可以看到当前使用的是jupyter3这个环境了。
我们可以往这个环境里安装jupyter-notebook:
(jupyter3) $ pip install jupyter
下面是安装过程:

安装完jupyter-notebook以后,安装它的内核ipykernel:
(jupyter3) $ python -m ipykernel install --user

安装完成以后,就可以deactivate这个虚拟环境:
(jupyter3) $ pyenv deactivate jupyter3

回到default环境下以后,试着执行刚刚安装的jupyter:
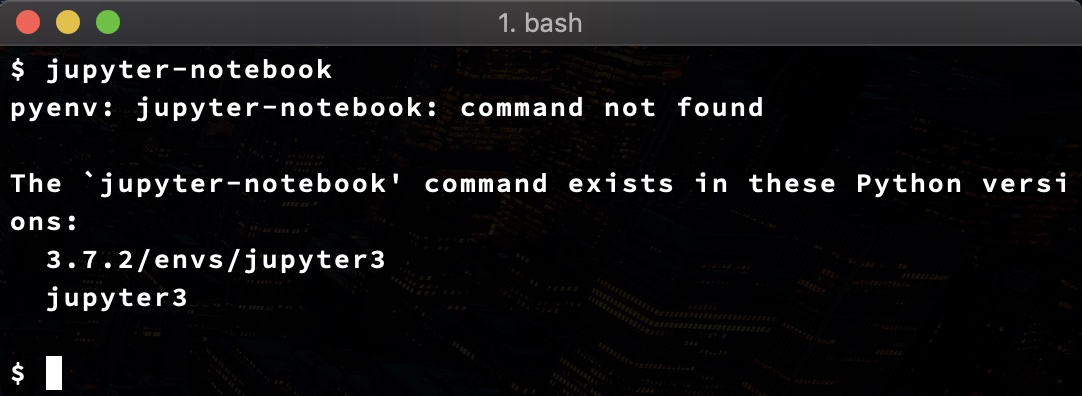
可以看到不能执行,因为jupyter被安装到了jupyter3这个虚拟环境里。如果要使用,需要activate刚刚的jupyter3环境。
但是还有一种方法是重新配置一下全局python环境:
$ pyenv global 3.7.2 jupyter3
这样,3.7.2和jupyter3两个环境是同时生效的,并且它们两个环境之间的组件会有一个先后顺序。
接下来,在默认环境下试试看执行jupyter:
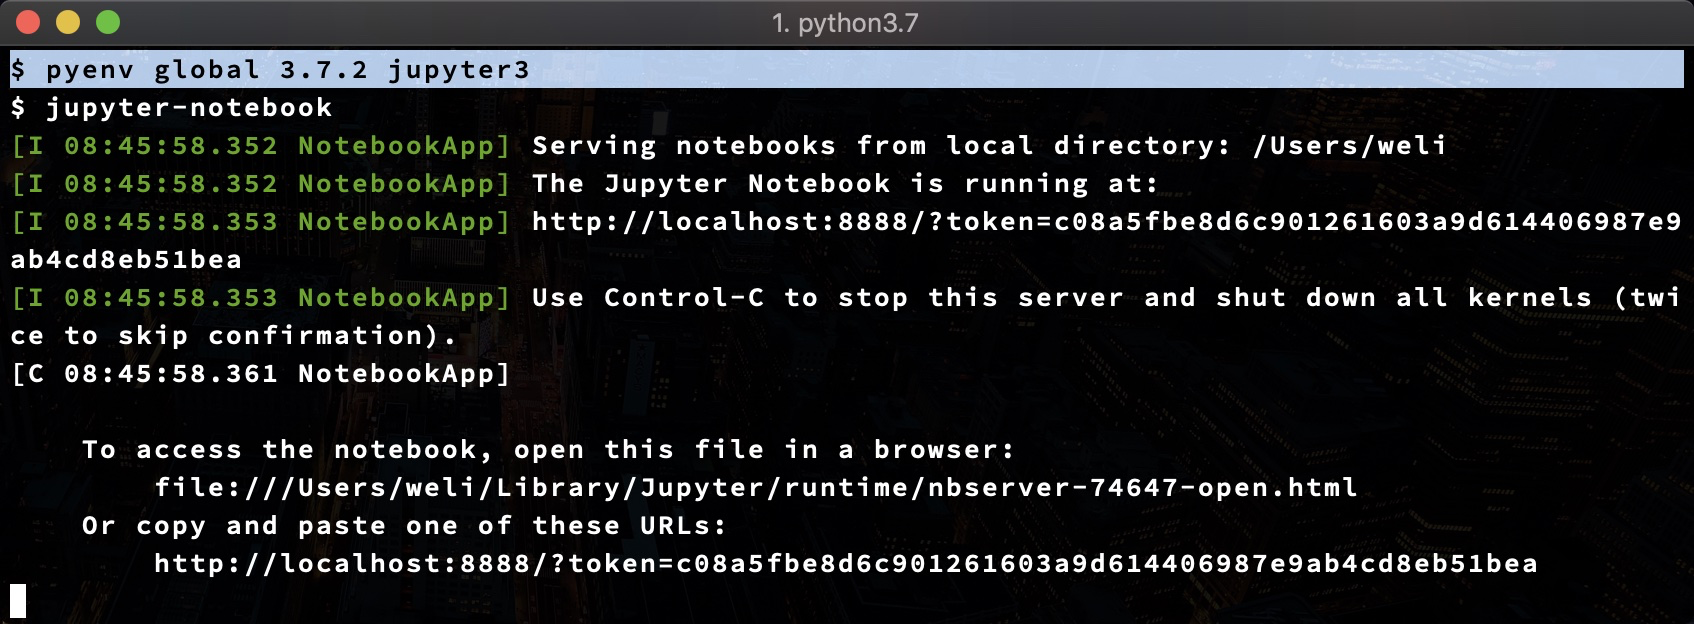
此时可以看到jupyter-notebook已经正确启动并加载了。
关于更高阶的pyenv和virtualenv的协同使用方法,可以看这篇文章:
这是这个系列的第二篇文章。下一篇的内容:
- pyenv跟pycharm的整合使用方法
- 上一篇 从conda转向pyenv(一)
- 下一篇 从conda转向pyenv(三)